 9536
9536
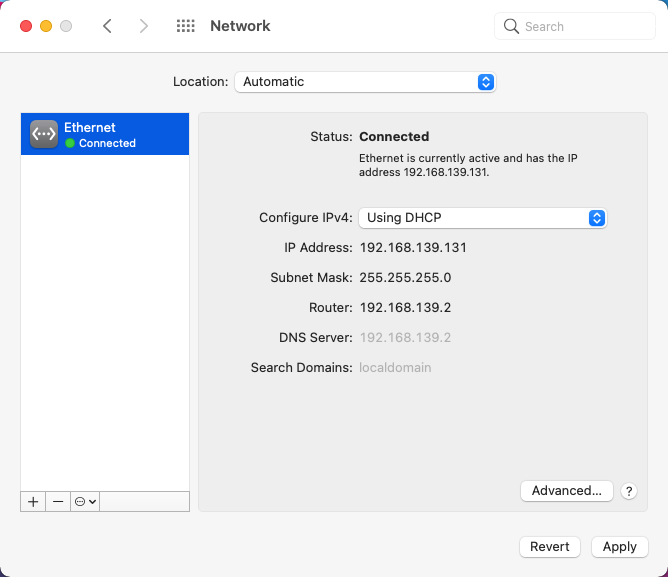
1. Open your System Preferences from the Apple menu

2. Find and Click on the Network icon.

3. Select the network your Mac is connected to.
If you are connected by a physical cable to your network, select Ethernet as your network.
If you are connected to the network wirelessly, select AirPort.
Once you’ve chosen a network, Click on Advanced.

4. Click on DNS in the bar on top. Click on the DNS Server IP in the left side box, then click the - (minus) button below to remove it.

5. Click the + (plus) button below to add the correct IP addresses.
Fill DNS Server IPs listed in the image below. Do this for both DNS server IP addresses by adding one, then pressing the + (plus) button to add the second.

You can now check to see if you have properly configured your DNS by logging in to your account at https://app.privadovpn.com/en/control-tower. You should see “DNS Settings are correct” at the top.


